My Wallpaper Paste Experiment in 2008
It’s 9th March, 2008 and my plan the other day was to mix Wallpaper Paste with fiber-reactive dyes and paint direct, like a dye-thickener.
This time I had the bright idea to use a lot LESS wallpaper paste powder, and simply paint that onto the silk.
This is known as ‘antifusant’ – a French word – and basically means that when the silk has been painted with a solution like this, and allowed to dry, it becomes crisp like paper so you can paint on it without the dyes spreading like they normally do. Some people like to create paintings this way,, others simply cover parts of the silk with an antifusant, to block out certain areas.
In a plastic cup I put approx 5% of a teaspoon (20-30 grains) into a half cup of water and stirred. Took a while for the grain to dissolve, so I left it about 15-20 minutes then stirred a bit more.
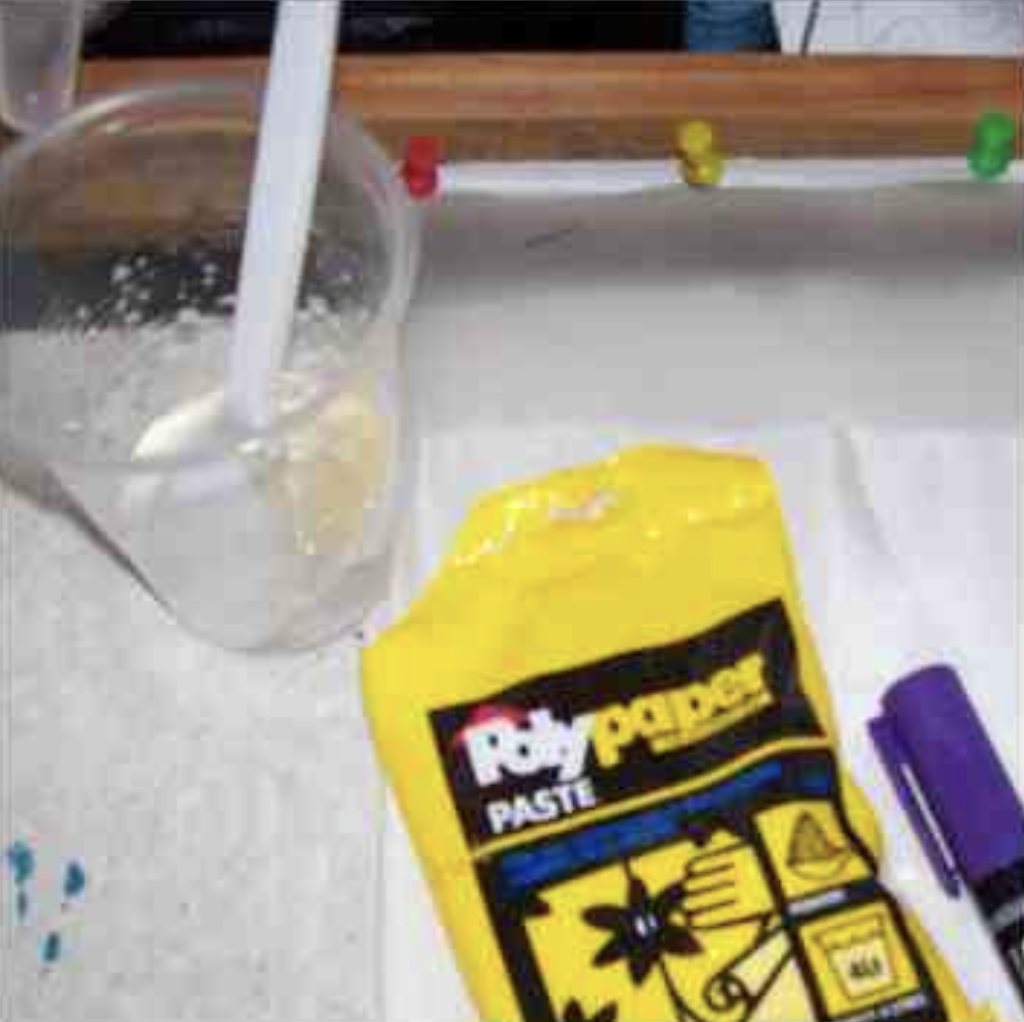
Above: Wallpaper paste sachet, “polypaper” brand, cost about $A3.00.
The wallpaper paste solution was very weak, and did not go thick at all, which was just what I wanted.
I painted onto the stretched silk habotai, and dried with a hairdryer (I was impatient to try this out):
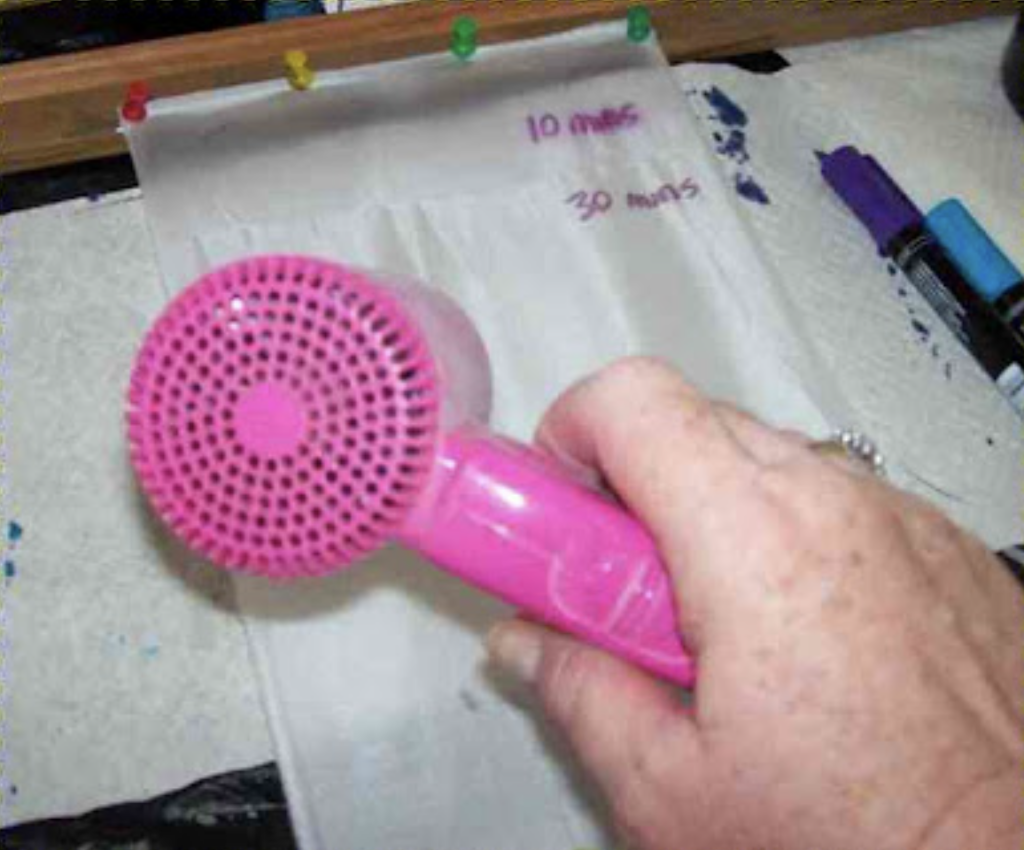
Above: using a hairdryer to dry the wallpaper paste after it is painted onto the silk.
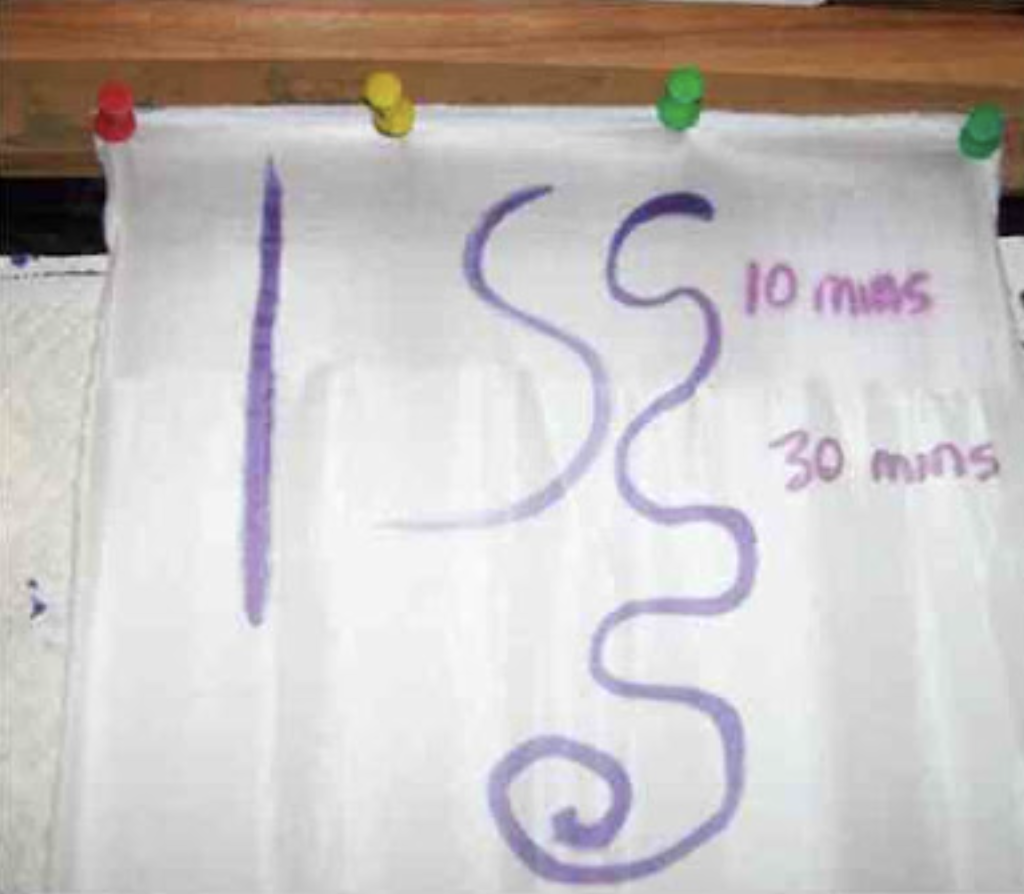
Above: the antifused area is the top part of this photo. As you can see, there is no clear difference between the dye painted onto the antifused surface, and the normal silk.
Second Experiment
Hmm, this makes me think the solution isn’t strong enough, so I decided to add some more of the wallpaper paste to the solution, and try again.
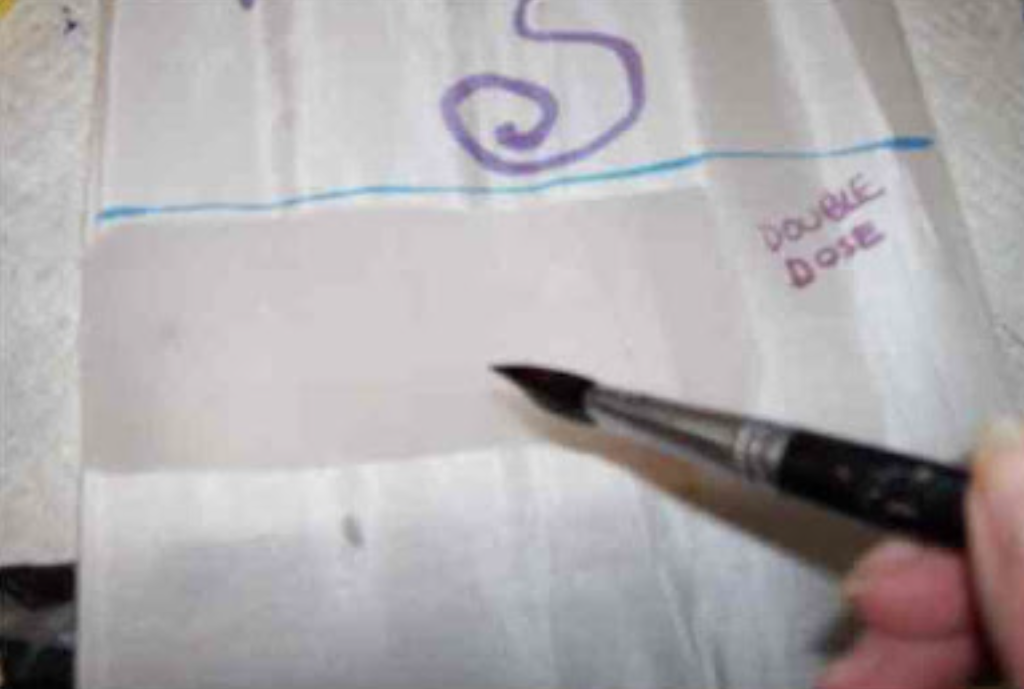
Above: In this photo, you can see the wet antifused area (I have written “double dose” to the right”.
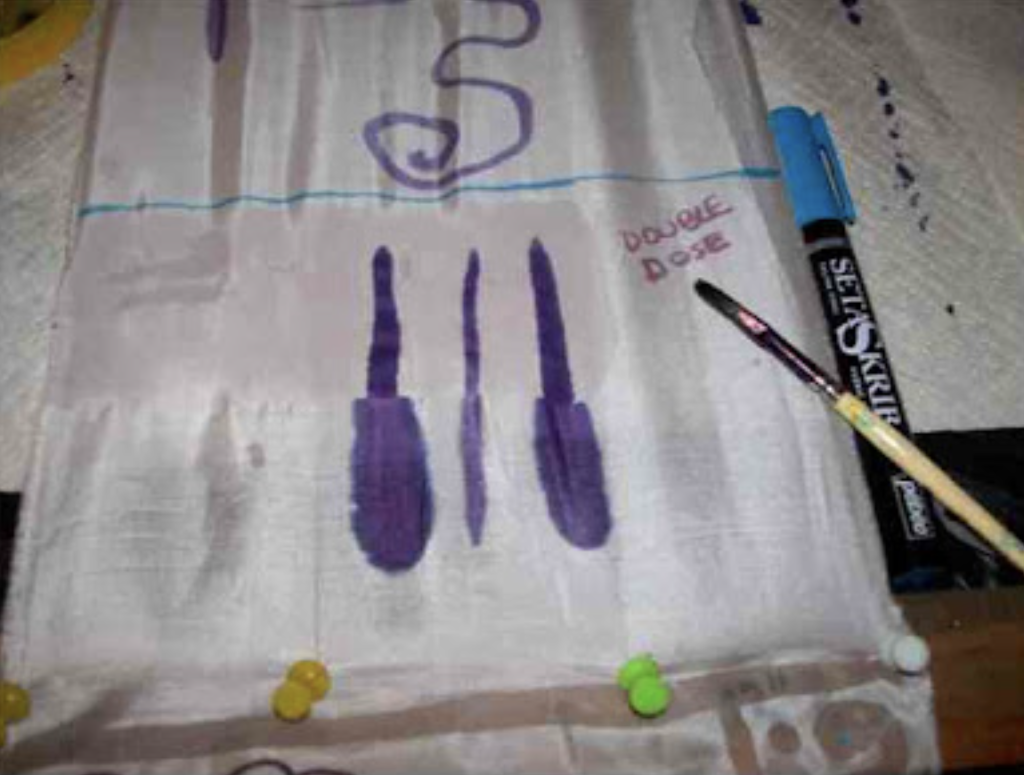
Above: I quickly painted 3 lines on the silk – the top half of each line is on the dry antifusant (wallpaper paste weak solution).
You can see clearly how the top half of each line maintains its shape quite well, and the bottom half of the lines the silk dye is spreading, as per normal application.
Success!
Next I decided to try some small silk dye ‘dots’ with the brush – some on the antifusant area and some on untreated silk:
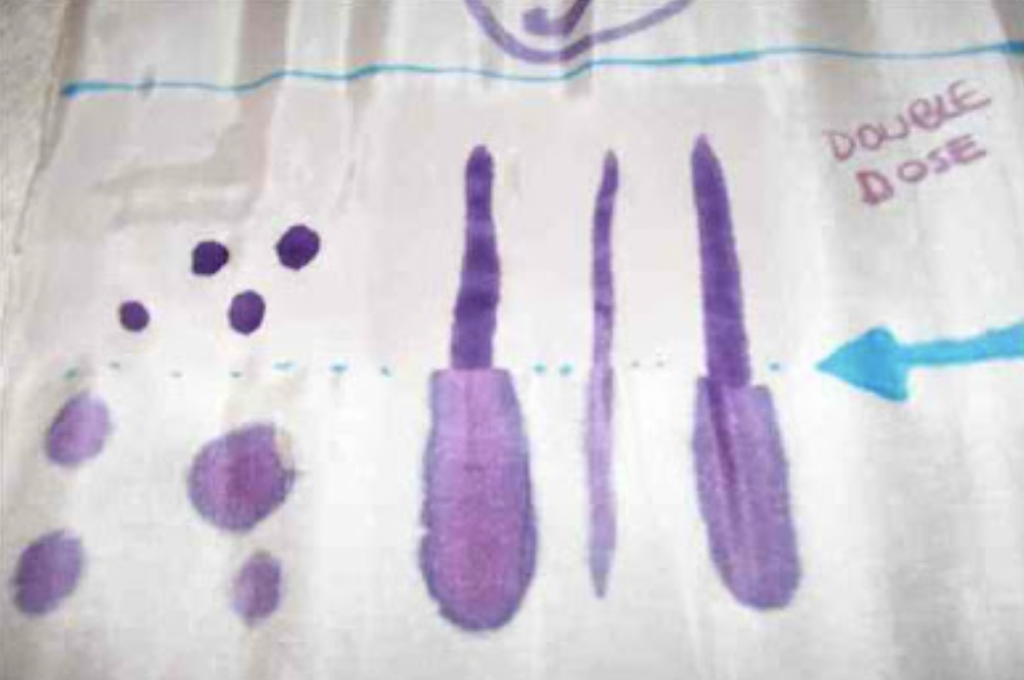
See the blue arrow and dots on the silk above? That’s where the wallpaper paste solution ends.
You can see above that the purple dots on the solution are of one size, and stopped spreading, and the dots below the line continued to spread on the untreated silk.
Next I created several swirls with the dye to see how they would react with the antifusant of wallpaper paste:
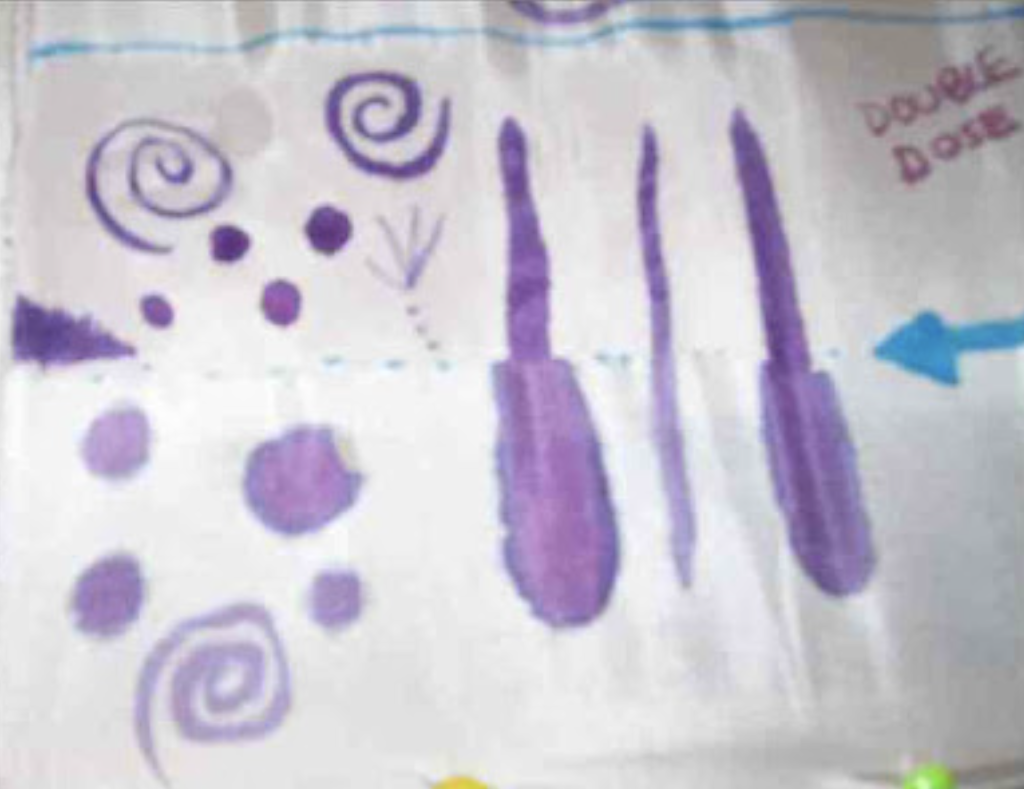
You can see where the dye has spread further on the swirl below the blue dotted line, than the sharper lines of the swirls above the line on the antifusant.
Next step:
I plan to wash the silk and see what the results are on the antifusant section. I’m aware the dyes are quite old (had been prepared over 6 months ago) so I expect the colour to leach out a fair bit.
- Dyes used: fiber-reactive dyes, over 6 months old, kept on a shelf
Antifusant: Wallpaper paste solution, consistency of milk
Fixing: no fixing, left to dry for several days
Please note:
- The fiber-reactive dyes I use (Drimarene K in Australia) don’t need steam-fixing.
- If wrapped in black plastic for 24 hrs the colours remain vibrant
- if not wrapped and simply left out in the air to dry overnight, the colours will become pastel when washed.

Update April 2024
I received a lovely message today about this VERY OLD experiement I did, and it took me way back in time to 2008! Yikes! I haven’t used this technique since then, but if you have, please do let me know how it worked for you.
Experimenting is so rewarding with silk painting 💜
Let me know if you have any questions, or would like to join one of my Zoom Chats for Silk Artists.
More soon,
Teena!
A Quick Little Video from 2023:


