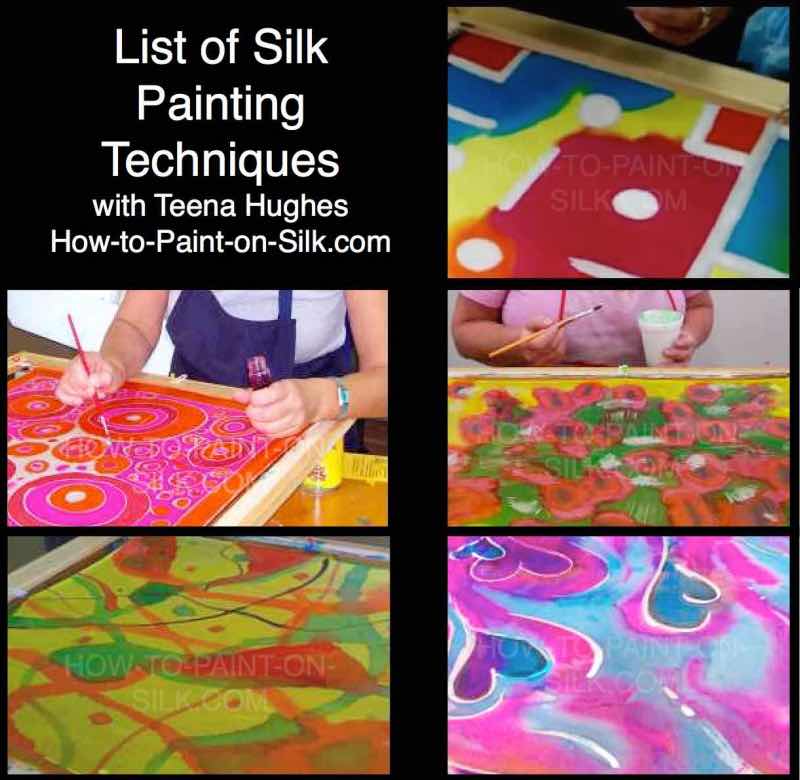
This list of Silk Painting Techniques continues to grow!
As more and more people start silk painting, they experiment, try traditional techniques, and some even branch out and create their own new techniques — it’s an exciting world we live in 🙂
- Wet-on-Dry – the most common way to start painting on silk, using silk dye (wet) onto stretched white silk (dry).
- Wet-on-Wet #1 – this is painting a different colour onto silk which has just been painted, and is still wet with silk dye.
- Wet-on-Wet #2 – painting the silk with water before applying the silk dyes can also create a marvellous effect.
- Resist / Gutta (gum-based outliner) – the centuries old technique for drawing designs on silk, where the design acts as a barrier to stop the silk dye from flowing outside the boundaries. The Gutta is poured into an applicator bottle with a nib, to create smooth lines.
- Water-based outliner – an alternative to the original Gutta designs, and much easier to remove after painting and making the dyes permanent.
- Antifuse / Antifusant / No-Flow / – this is a great way for beginners to treat the silk after stretching on a frame, and before applying any silk dyes. The antifuse is painted on the silk where required, and allowed to dry. When applying the silk dyes by brush, it’s like painting on parchment paper – they silk dyes do not flow, they stay wherever the brush paints them.
- Salt technique – when strong dark silk dyes are applied, small amounts of rock salt can be applied to the still-wet dyes. Very quickly the rock salt will draw the dyes in, leaving “trails” on the silk (like comet trails).
- Cold Wax for Silk Dyes – Cold Wax can be applied with brushes and creates interesting shapes. Can also be used for multi-layered designs in different colours.
- Ombré – this technique can use multiple colours, or multiple shades of the same colour, painting from light to dark on a section of the silk.
- Shibori – The word shibori is the Japanese word which translates into “to wring or squeeze”. Traditionally connected to the world of indigo dyeing, and the colour blue indigo. Originating in China, shibori dyeing became mainstream in Japan during the Edo Period in the 17th-19th centuries. “Shibori artists use thread to isolate many small repeated points on the fabric; after dyeing this spots of color create captivating designs, that tend to be far more intricate and detailed than modern tie-dye.” More info: https://japanobjects.com/features/shibori
- Batik (hot wax) – this technique needs to be well planned. Only use non-toxic hot wax, to avoid documented lung problems. Generally applied on the silk by using a Tjanting, a tool used for drawing designs with hot wax.
I’m looking forward to talking more about each of these techniques in the coming weeks, with some videos showing how I do some of them. Stay tuned!
The first Silk Painting technique I learned in Paris
When I first learned how to paint on silk (peinture sur soie), the only technique I was taught was the Resist Technique. I was studying silk painting in Paris, France, and all the words relating to this amazing art form were French. This means that instead of “resist”, the word I learned was “gutta“, which is pronounded as “gootah”.
I thoroughly enjoyed learning how to paint on silk in a little Parisian Studio (atelier), and all my artistic skills finally had a place to call home. I felt like I’d been waiting to find silk painting all my life 🙂
Where did my French Silk Dyes come from in Paris?
Learning to speak French whilst learning to paint on silk was fabulous — going to the little store where the silk dyes were made was such a treat! Monsieur Cedille was a delightful man, always wore a soft grey coat (to avoid his clothes getting splashed or dirty, I’m sure), with a large bushy moustache and twinkling, friendly eyes. I loved poring over the colour charts and learning new colours in French
Although he closed down his business many years ago, I still think of Mr Cedille and my introduction to French steam-set Silk Dyes.
Did I have a Parisian “Hem Fairy” for my silk scarves?
Speaking of “steam-set”, that brings back memories of another delightful part of being a silk artist in Paris (or all of France, for that matter, way back then). After the silk pieces were made colourfast, I had to make a small parcel and wrap in paper, before making a visit to the lovely little old lady who was a well-known seamstress in the silk painting world in Paris.
This wonderful lady (whose name I’ve forgotten, unfortunately) would accept the package, sew the beautiful hand-rolled hems on the silk scarves, and attach the label (l’etiquette). All I had to do was collect them several days later.
Those early days in Paris and the learning French and all about silk was an amazing experience and formed the start of an amazing career over the past few decades. Every day when I walk into my sun-filled Studio with a steaming cup of coffee, I put on one of my French music CDs, practice 5 minutes of French language on Duolingo, and allow myself to become Frenchified Teena for a moment or two …
I then take a deep breath as I let my eyes move slowly around my Silk Studio filled with colour and art tools, my hand-painted silk projects hanging everywhere, framed silk paintings ordered by clients (and awaiting pick up), and give thanks to the incredible life I’ve had so far which I attribute to my silk painting.
Ahhh, la vie est belle!
Life is beautiful!
A brief overview of what I learned in Paris
As part of my learning, I studied the following:
- the different types of silk, and the way the silk dyes flow on each type of silk
- attaching the silk to a wooden frame with Picot edges (fine point razor-sharp pins)
- understanding the use of gutta and squeeze bottles, and the importance of gutta-application
- how to prepare the silk for the steaming machine
- the technical details of silk steaming
- removing the silk from the steamer
- washing and care of the silk after steaming.
How did YOU start learning to paint on silk?
I’d love to know!
Did you enjoy my List of Silk Painting Techniques?
I hope so!
Let me know if you have any questions, send me an email or pop over to the Facebook page – I look forward to chatting with you.
My NEXT email will be announcing the LAUNCH DATE of the Silk Painting Dictionary when it goes LIVE online — woohoo!
Have a gorgeous day wherever you are!
Hugs,

Teena xo
Not on my mailing list yet? Click the image to sign up so I can send you juicy silky tidbits 🙂

… or click here to Subscribe >>